Entry · Ref YMZ0BL3E
How to Approach Mold Damage Repair in Your Home
- Posted
- 2026-10-12
- Last amended
- 2026-10-12
- Account
- @molddamagerepaircraft
Understanding the Real Scope of Mold Damage
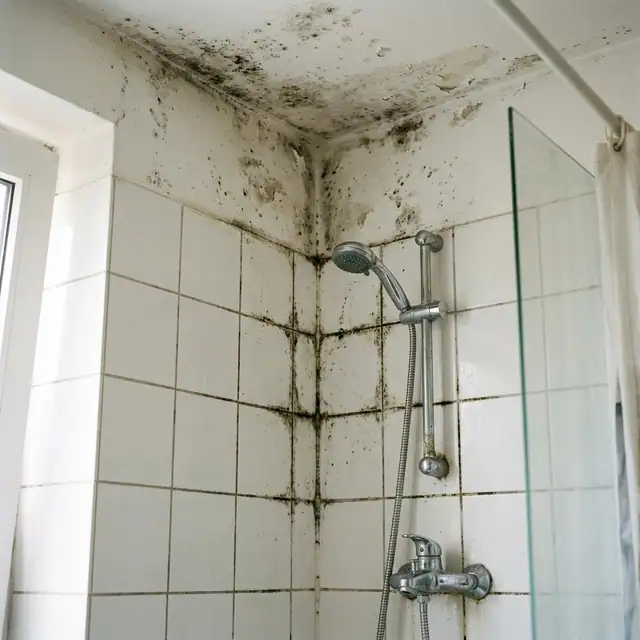
When you discover mold inside a home, the first instinct is often to reach for a spray bottle and scrub the surface. That response might hide the problem for a while, but it rarely solves anything. Mold that has penetrated drywall, soaked into wooden framing, or colonized a crawlspace is not a cleaning issue, it is a building issue. Mold damage repair means dismantling the affected area, finding the root cause, and rebuilding with materials and practices that resist recurrence. I have seen too many homeowners treat patches of mold like a cosmetic defect when the real problem is a slow plumbing leak or a foundation that wicks moisture upward. Until you treat the moisture, the mold will keep coming back.
The first step in any mold damage repair job is understanding how far the contamination has spread. Mold does not respect boundaries. It can travel through wall cavities, behind baseboards, and into HVAC ductwork without leaving obvious signs on the surface. That is where professional mold testing becomes useful. A combination of air sampling and surface sampling can tell you not just what species of mold you are dealing with but also whether the spore concentration indoors is higher than what would be expected outside. That information guides the entire repair strategy. If the levels are high, containment becomes necessary. If the mold is localized to one area, you might be able to work without full isolation. But you never guess.
Where to Start: Containment and Safety
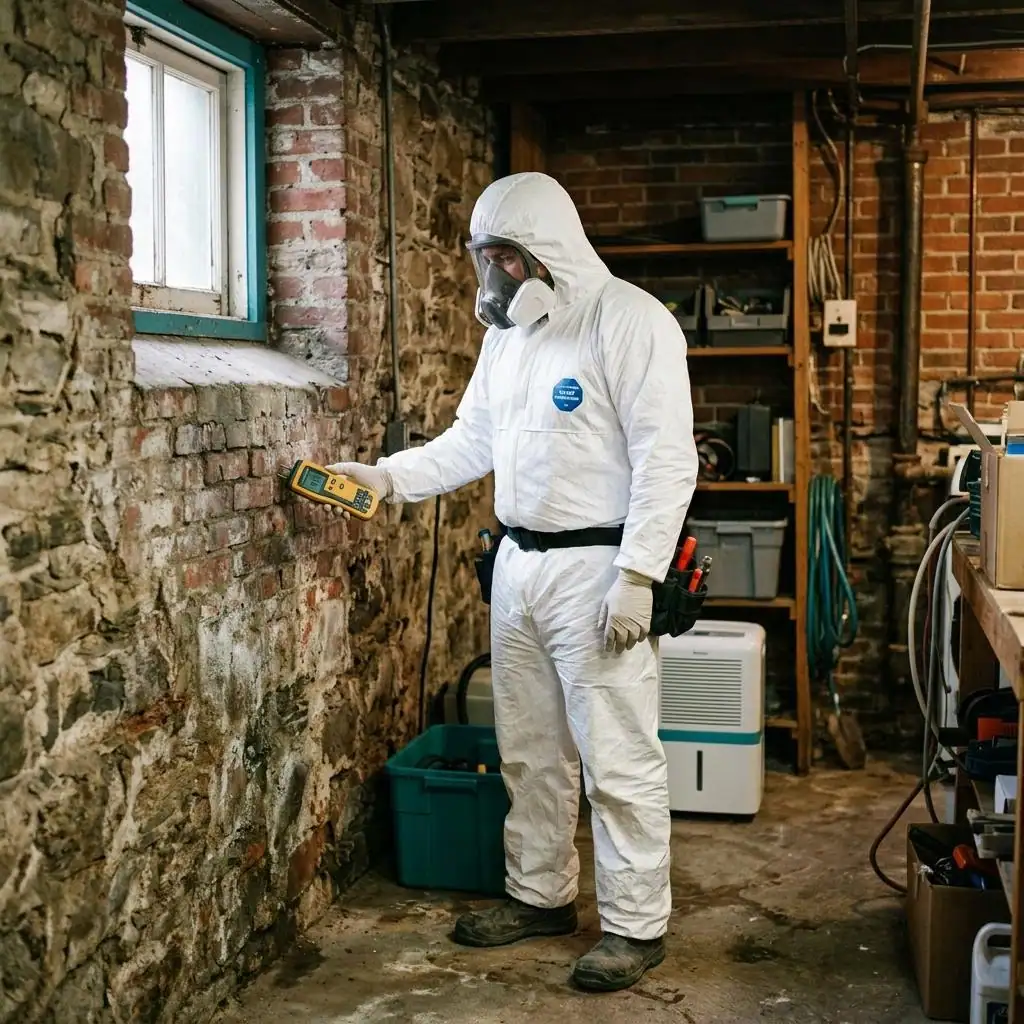
Before you cut into any wall or pull up any flooring, you have to think about containment. Mold releases spores when disturbed, and those spores can land anywhere in your home environment. A single mistake during a DIY removal can spread contamination to every room. The proper approach is to seal off the work area with heavy plastic sheeting and negative air pressure using air scrubbers fitted with HEPA filters. That setup keeps the airborne spores inside the containment zone while the rest of the home stays clean. I have walked into jobs where people thought a few plastic sheets taped to the doorframe were enough. They were not. Without proper sealing and air scrubbing, the spores travel through gaps and under doors.
Personal protection is just as important. Anyone entering the containment area should wear safety glasses and a respirator rated for mold and particulate. An N95 mask will not cut it for serious remediation. You need at least a half-face respirator with P100 filters. The dust and debris from cutting moldy drywall or removing insulation can irritate your lungs and skin. Even if you are only doing a small patch repair, protect yourself. The long-term health risks are not worth the convenience of skipping a mask.
Inspection Tools That Make a Difference
Finding all the moisture sources is the backbone of effective mold damage repair. You can replace every piece of drywall in a room, but if the leak is still active or the humidity is still high, you will be doing the same job again within a year. A moisture meter is one of the simplest and most useful tools for this work. You can press it against drywall, wood, or concrete and get an immediate reading of moisture content. If the reading is above 15 percent in wood or above 1 percent in drywall, you have a problem. Another tool that is less common but very effective is the boroscope, a small camera on a flexible cable. You can drill a small hole with a hole-saw kit and snake the camera into a wall cavity to see if mold or water damage is hiding behind the surface. That saves you from opening a wall that looks fine but is actually a breeding ground.
Leak detection is where all the guesswork gets removed. Sometimes the moisture is coming from a pipe that is barely weeping behind a shower fixture. Sometimes it is groundwater seeping through a slab crack. A professional leak detection service can use thermal imaging and moisture mapping to find the source without tearing apart the whole house. That precision saves money and avoids unnecessary demolition. In my experience, the most expensive part of a mold job is not the repair itself but the demolition and reconstruction that could have been avoided if the leak was found early.
Removal Methods: Choosing the Right Approach
Once containment is up and the moisture source is identified, the actual removal begins. For minor surface mold on non-porous materials, a mold stain remover and a stiff brush might be enough. But for porous materials like drywall, insulation, carpet, and wood, removal is the only reliable option. You cannot scrub mold out of drywall. The gypsum core holds moisture and mold roots, and no amount of bleach will reach the middle of the board. The affected drywall must be cut out and replaced. That means drywall replacement is a standard part of most mold damage repair jobs.
For larger-scale remediation, especially in commercial or multi-unit buildings, dry ice blasting has become a popular technique. It uses compressed air and dry ice pellets to blast away mold and debris from wood framing and masonry without adding moisture. The dry ice sublimates on contact, so there is no secondary water damage and very little waste. It is especially useful for cleaning structural beams and subflooring that you do not want to replace. After the blasting, a HEPA vacuum is used to collect any remaining dust and spores. That combination, dry ice blasting followed by HEPA vacuuming, leaves surfaces clean and dry, ready for sealant or reconstruction.
After the contaminated materials are gone and the surfaces are clean, it is smart to apply an antimicrobial sealant to the exposed wood and framing. This step is not always necessary, but it adds a layer of protection in areas prone to humidity or hidden leaks. A good sealant will resist future mold growth and also seal in any residual spores that might be embedded in the wood grain. I consider it cheap insurance for the next stage of the job.
Structural Drying and Humidity Control
Even after the visible mold is gone, the environment that allowed it to grow still exists. Structural drying is the process of removing moisture from the building materials and the air before you close the walls back up. This can take days. Industrial dehumidifiers and ventilation fans work together to pull moisture out of the wood and drywall. You can monitor progress with the same moisture meter you used during inspection. When the readings drop into a safe range, you know the structure is ready for reconstruction.
During this phase, it is also worth addressing the broader humidity issue in the home. A whole-house dehumidifier can keep relative humidity below 50 percent, which makes it nearly impossible for mold to grow. Ventilation in bathrooms and kitchens should be adequate to remove steam and moisture at the source. If you have a crawlspace or basement, consider a vapor barrier and proper drainage around the foundation. These are not part of a single mold damage repair job, but they prevent the next one.
Reconstruction and Prevention
When you rebuild after mold damage, you have a chance to do it better. Use moisture-resistant drywall in basements and bathrooms. Treat the framing with a borate-based solution before installing new drywall. Make sure insulation is vapor-tight and that any plumbing penetrations are sealed with caulk. The goal is to create a system that does not give mold a foothold. This is where the repair becomes more than just a fix, it is an upgrade.
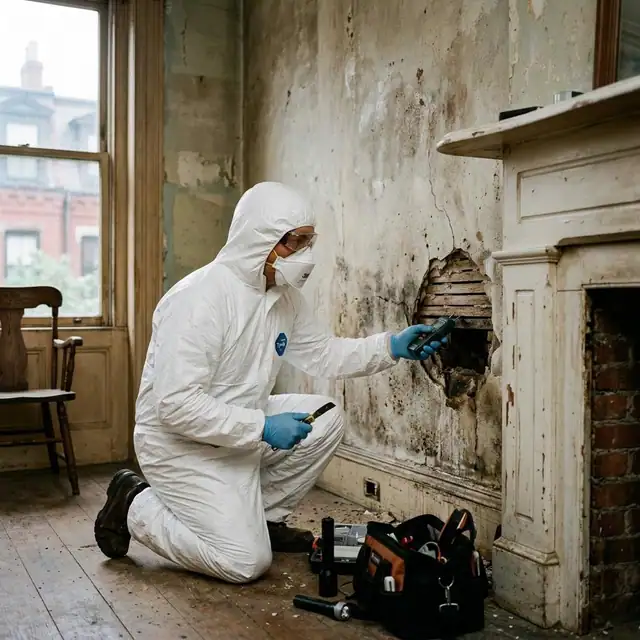
A thorough mold damage repair job includes checking for hidden problems that might have been overlooked. Check the attic for roof leaks, the crawlspace for standing water, and the exterior grade for proper drainage. Sometimes the biggest mold problem starts with a gutter that is not carrying water away from the foundation. I have seen homes where a five-dollar downspout extension would have prevented thousands of dollars in mold remediation. Prevention is always cheaper than repair, but once the damage is done, the only path forward is to do the repair right.